Bathing a dog is a crucial part of pet care, contributing significantly to overall hygiene and health. To ensure the process is effective, stress-free, and safe, it must follow professional protocols rooted in veterinary and grooming expertise. Improper techniques, such as using the wrong products or insufficient rinsing, can lead to painful skin conditions like dermatitis and infections.
1. Step: Preparation and Pre-Bathing Brushing (The Safety Foundation)
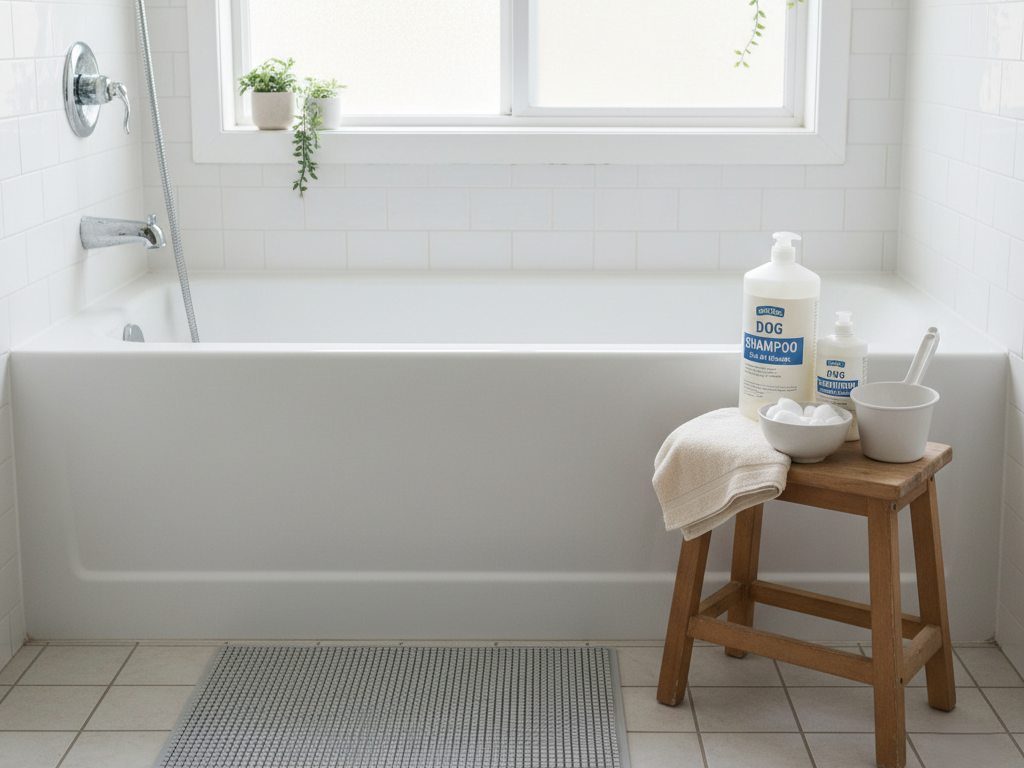
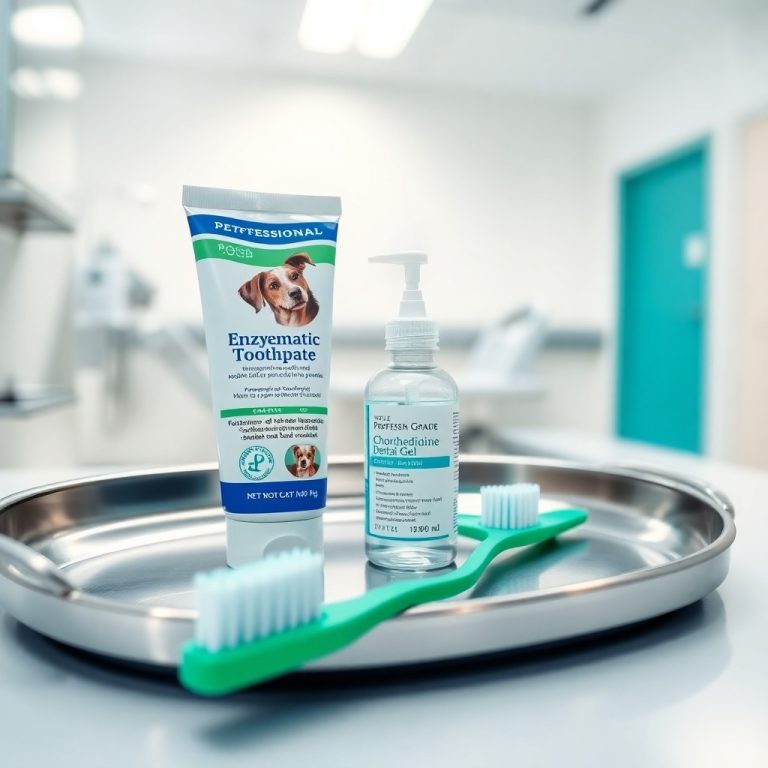
High-quality preparation is essential to minimize canine anxiety and prevent injury. Before introducing the dog to the bath area, gather all required supplies: dog-specific shampoo (diluted if recommended) , conditioner (if needed for coat type), a large absorbent towel, a cup or pitcher for rinsing, a non-slip mat, cotton balls, and plenty of high-value treats.
Critical Safety Check
The bath area must be secured. A non-slip mat placed on the bottom of the tub is mandatory to prevent slipping, which can cause injury or severe stress and fear of bathing.
Mandatory Pre-Brushing
Brushing the dog thoroughly before bathing is non-negotiable. Knots (mats) and excessive loose hair must be removed while the coat is dry. If mats get wet, they tighten and shrink, becoming excruciatingly painful to remove and potentially causing skin irritation.
2. Step: Protecting Sensitive Areas (Ears and Eyes)
Water entering the ear canal is a leading cause of ear infections (otitis), particularly in floppy-eared breeds.
Ear Protection Technique
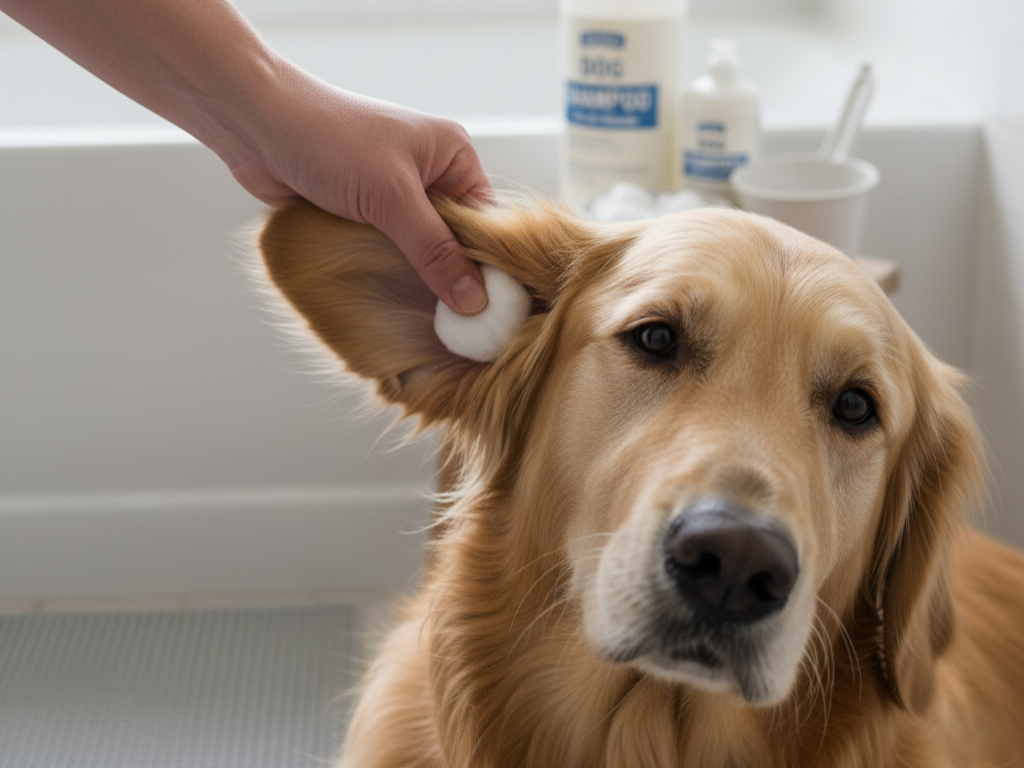
Insert a large cotton ball or a small piece of cotton cloth just into the entrance of the ear canals—do not insert it deep enough to damage delicate structures. This acts as a physical barrier against water ingress.
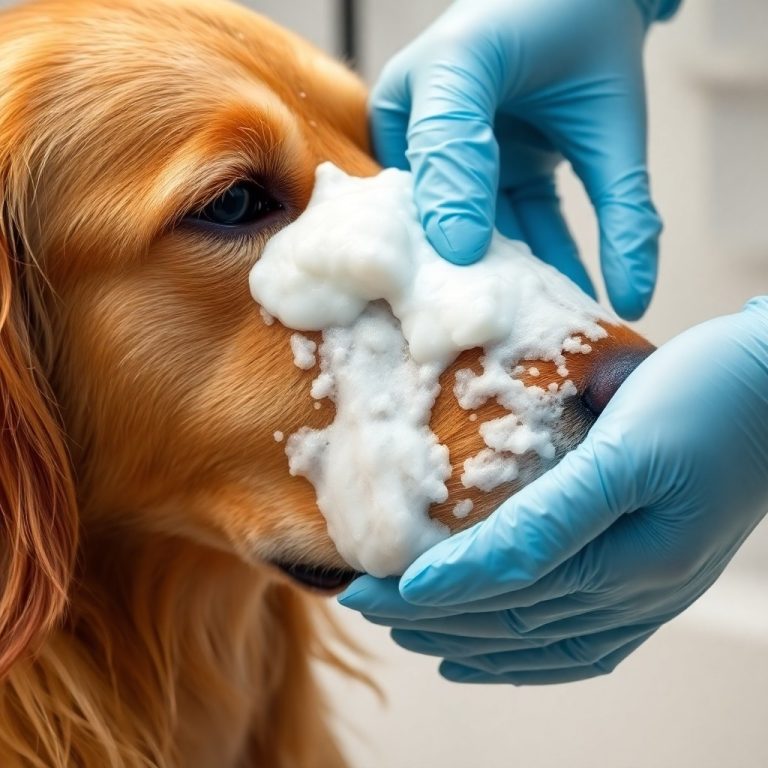
Head Washing Protocol
Use a damp washcloth for cleaning the face and area around the eyes and snout. Avoid direct application of water or shampoo to the face entirely.
3. Step: Temperature Check and Gentle Wetting
The wetting process should be gradual to avoid startling the dog.
Water Temperature
The water must be comfortably warm—never scalding hot or too cold—as dogs are highly sensitive to extreme temperatures. Always test the water before starting the wetting process.
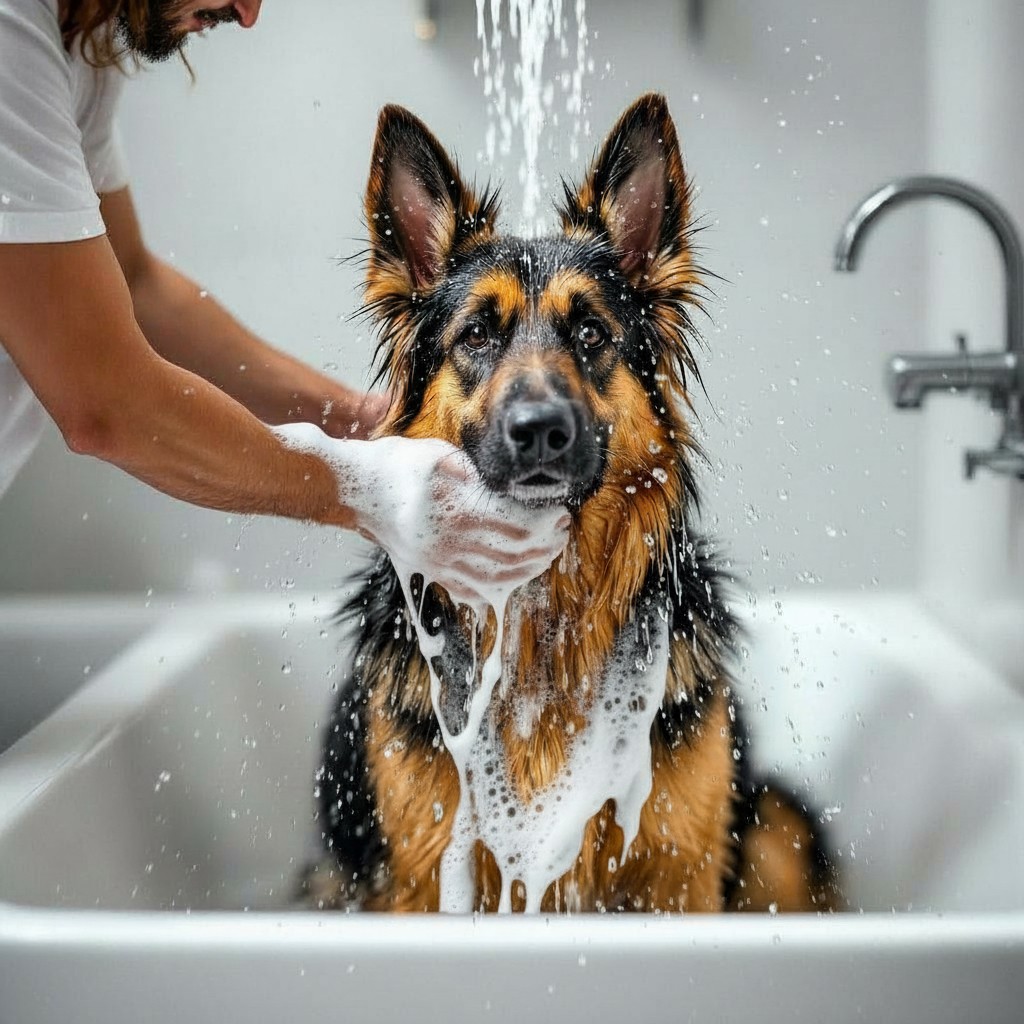
Low-Pressure Application
Use warm water applied gently using a cup, pitcher, or a low-pressure handheld shower attachment. High-pressure sprayers can frighten the dog and cause unnecessary anxiety. Start the process at the neck and slowly move backward toward the tail, ensuring the entire coat, including the underside and legs, is fully saturated.
4. Step: Applying Dog-Specific Shampoo
Use this step to create positive associations and ensure dermatological safety.
Product Selection
Apply a modest amount of dog-specific shampoo (many professional formulas lather effectively with minimal product) along the dog’s back. Never use human shampoo as it disrupts the dog’s skin pH balance, causing dryness and irritation.
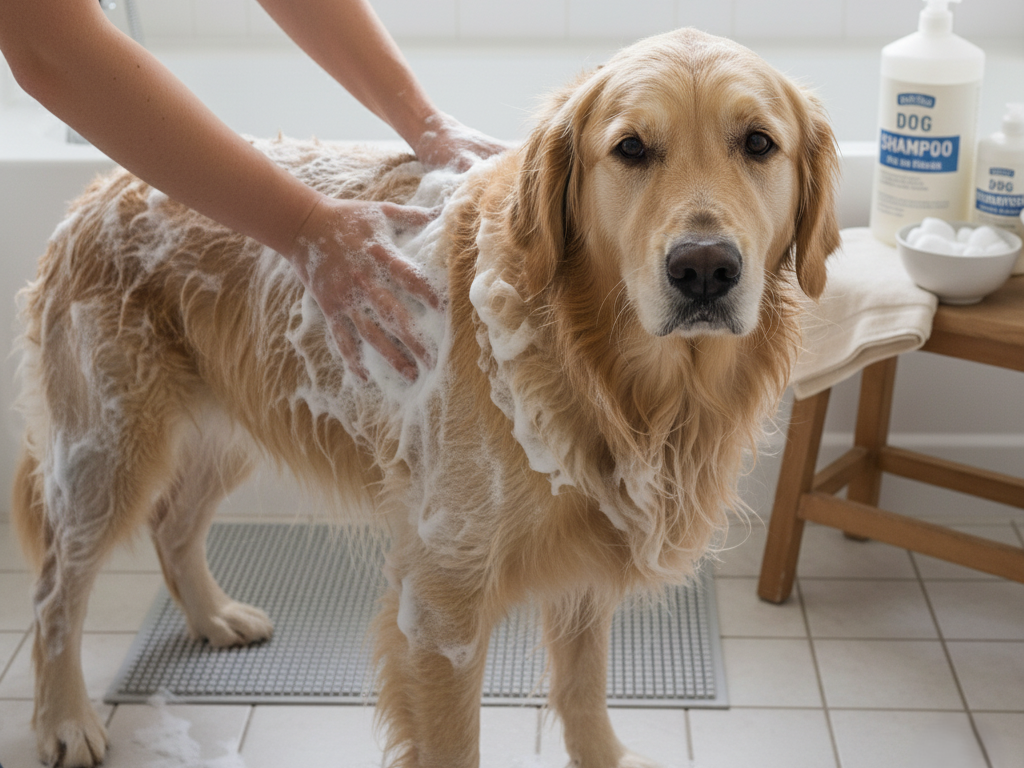
Massage and Relaxation
Massage the shampoo into a rich lather, working it thoroughly into the coat, including the chest, abdomen, legs, and tail. Use this time to speak to the dog in a calm, soothing voice to reduce stress and anxiety. Direct the water backward toward the neck when wetting the back of the head, preventing runoff into the ear cavities.
5. Step: Thorough Rinsing (The Dermatological Necessity)
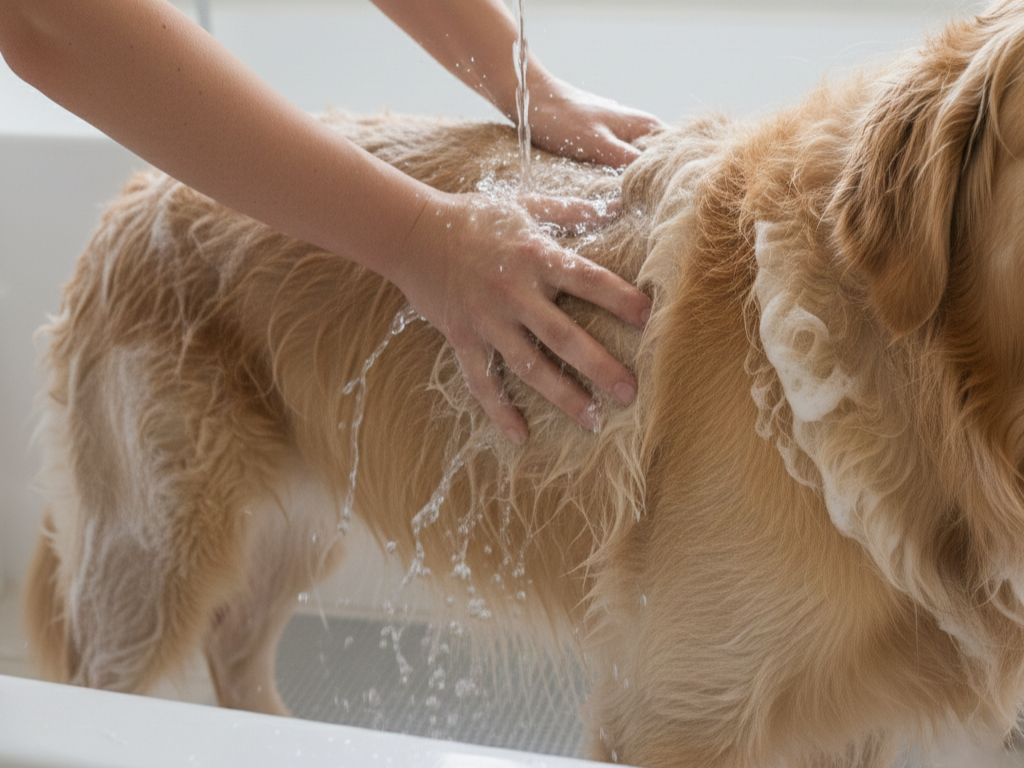
Proper rinsing is arguably the single most critical technical step for maintaining skin health and preventing inflammation.
The Danger of Residue
Shampoo residue left on the coat is a primary cause of dermatological problems. Unrinsed soap residues create a chemical irritant barrier that causes dryness, itching, dandruff, and inflammation, potentially leading to bacterial or fungal growth and severe dermatitis.
Rinsing Technique
Rinse the dog repeatedly using the cup or low-pressure showerhead until the water running off the coat is completely clear and free of bubbles. Run fingers through the coat during rinsing, particularly through the dense undercoat and hard-to-reach areas (armpits, groin), to ensure all suds are eliminated.
6. Step: Application of Conditioner and Initial Drying
If the coat is long, curly, or prone to tangles, apply a dog-specific conditioner. Follow the product’s instructions for application and rinse thoroughly afterward (unless it is a leave-in formula).
Initial Moisture Removal: Gently press out excess water and wrap the dog in a large, absorbent towel. Avoid aggressive rubbing, which can tangle the coat.
7. Step: Final Drying, Post-Care, and Reinforcement
Ensure the dog is fully dry before concluding the session to prevent chilling or hot spots.
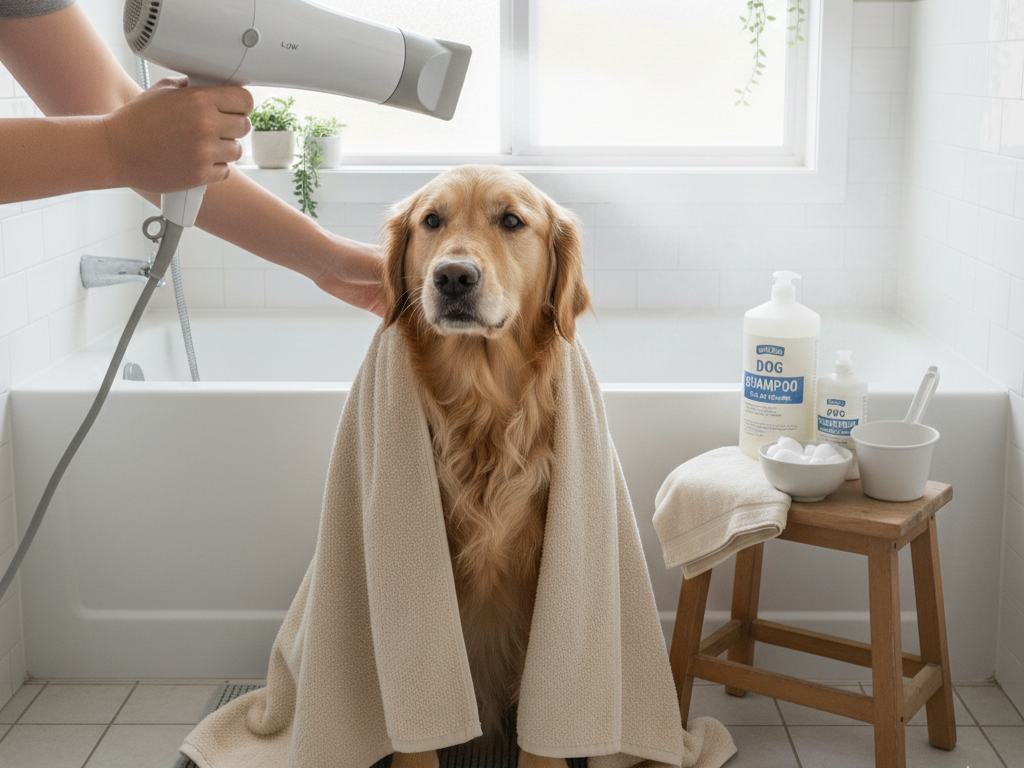
Temperature Controlled Drying
If using a human hairdryer, set it strictly to a low or cool setting. Hot air can easily overheat the dog’s skin, leading to irritation, itching, or dandruff. Professional groomers often use specialized High-Velocity dryers, and their techniques vary by coat type:
| Coat Type | Goal | Drying Technique |
| Smooth/Short (e.g., Beagle) | Shine, no tangles. | Standard cool air drying; direct air along the coat’s growth. |
| Curly/Wooly (e.g., Poodle) | Volume and fluffiness. | High-Velocity drying directed against the coat’s growth from the tail base forward. |
| Wire/Tight (e.g., Terrier) | Coat should lay flat and tight. | High-Velocity or cool air directed backward along the coat’s growth. |
Post-Bathing Care
Once the dog is completely dry, perform a final brush-through. Remove the cotton plugs from the ears and check the ear entry for any residual moisture, gently wiping it with a cotton ball or specialized ear cleaner. Always reinforce the positive experience with praise and treats. Establishing positive associations with the bath process is vital for future cooperation.