Most owners make this critical mistake when trying to stop leash reactivity: they punish the growl or pull, which actually increases the dog’s underlying fear. To permanently change how your dog reacts on leash, you must systematically alter their emotional association with their triggers. Desensitization and counter-conditioning (DS/CC) with a clicker works by pairing a trigger at a safe distance with a precise sound marker (the click), followed by a high-value reward, transforming a reactive fear response into a positive, focused behavior.
The Science Behind Desensitization and Counter-Conditioning
To resolve leash reactivity, you must work on two distinct behavioral modification processes simultaneously. Systematic desensitization involves exposing your dog to the trigger (such as another dog, a bicycle, or a stranger) at an intensity so low that the dog remains completely calm. Counter-conditioning changes the dog’s emotional response from negative (fear, frustration, or anger) to positive (anticipation of a reward) by pairing the presence of the trigger with something highly valuable, like freeze-dried liver or roast chicken.
For owners, this means you are not teaching obedience commands like ‘sit’ or ‘heel’ initially. Instead, you are changing how your dog feels. A clicker is the ultimate tool for this process because it marks the exact millisecond your dog looks at the trigger without reacting, providing a clear, consistent bridge between the positive stimulus and the upcoming reward.
Essential Gear for the Protocol
Before beginning, gather the correct equipment to ensure safety and clear communication:
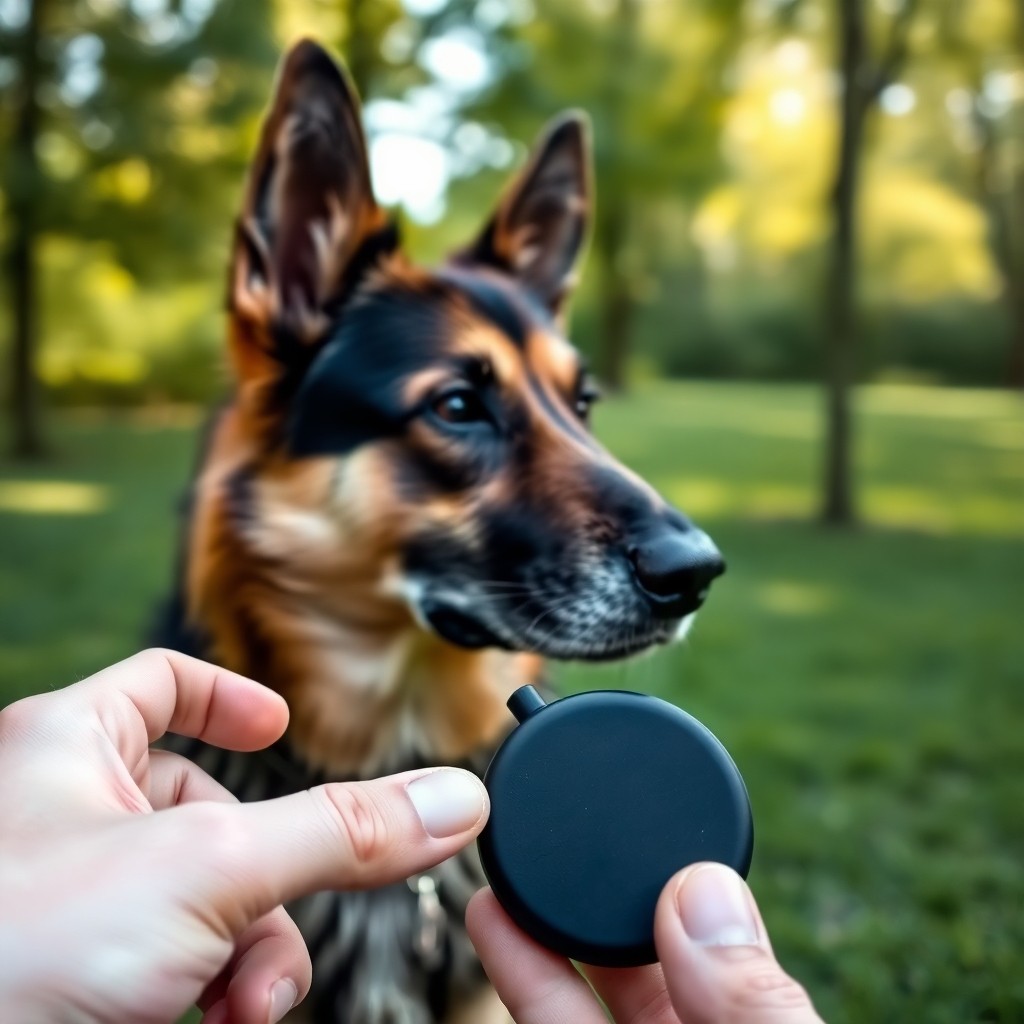
- A Standard Box Clicker: Choose a clicker with a distinct, sharp sound that you can operate easily while holding a leash.
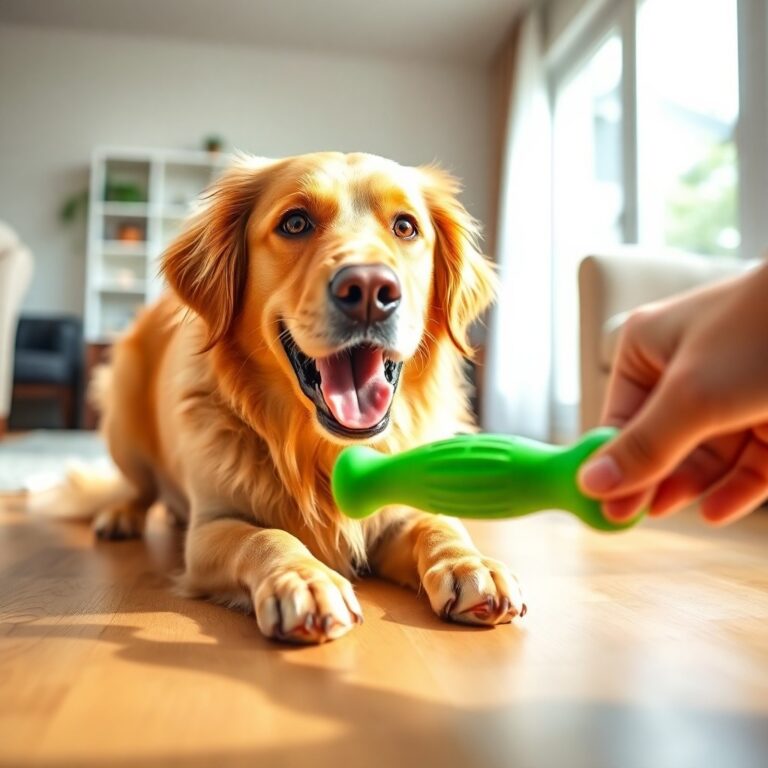
- High-Value Treats: Use soft, pea-sized treats that your dog rarely gets, such as diced hot dogs, cheese, or boiled chicken. These must be high-value enough to compete with the trigger.
- A Standard 6-Foot Leash: Avoid retractable leashes, which prevent precise control and can accidentally apply tension, raising your dog’s stress level.
- A Back-Clip Harness: A front-clip or back-clip harness distributes pressure evenly without putting painful pressure on the neck, which can worsen reactivity.
The Step-by-Step Clicker Reactivity Protocol
This training protocol must be executed systematically. Moving too quickly will cause your dog to go over threshold, resetting your progress.
Phase 1: Charging the Clicker
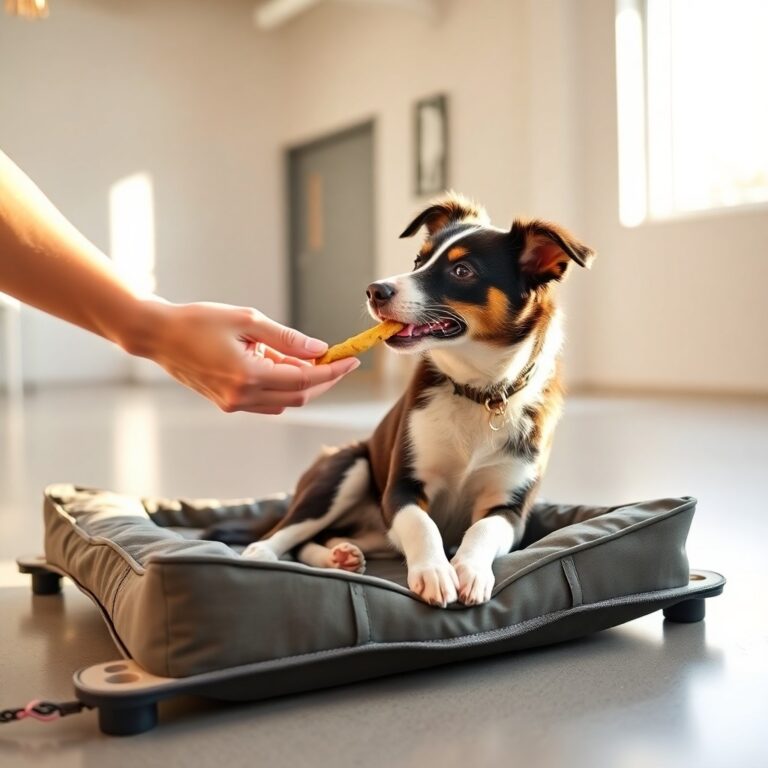
Your dog must understand that the sound of the click always means a delicious treat is coming. In a quiet, distraction-free room at home, press the clicker once and immediately deliver a high-value treat. Repeat this sequence 15 to 20 times. Your dog has ‘charged’ the clicker when their ears perk up or they look at you immediately upon hearing the click.
Phase 2: Identifying the Threshold Distance
The threshold is the exact boundary where your dog notices the trigger but does not react (no barking, lunging, stiffening, or hard staring). If your dog reacts, you are too close. Find a controlled environment, such as the far edge of a park, and observe your dog’s body language as a trigger appears in the distance. Note the exact distance where your dog remains alert but calm; this is your starting point.
Phase 3: The Look at That (LAT) Loop
With your dog on a loose leash at your starting distance, wait for them to notice the trigger. The moment they look at the trigger with a relaxed body, press the clicker. The click will cause your dog to turn back to you for their treat. Deliver the reward immediately. Repeat this loop as long as the trigger remains in sight and your dog remains sub-threshold. If the trigger moves closer and your dog shows signs of tension, quietly increase your distance.
Common Mistakes in Reactivity Training
Leash reactivity modification requires extreme precision. Avoid these common pitfalls to ensure your training remains effective:
- Clicking After the Reaction: If your dog starts barking or lunging, do not click. Clicking during a reaction can confuse the dog and reinforce the reactive behavior. Instead, quietly turn around and increase the distance from the trigger.
- Using Low-Value Treats: Standard kibble will not work when competing with a highly stimulating trigger. Use exceptionally high-value, smelly treats reserved exclusively for reactivity walks.
- Keeping a Tense Leash: Pulling back tightly on the leash sends tension down the line, signaling to your dog that there is a threat. Keep the leash loose whenever possible to promote a calm state.
- Moving Too Fast: Do not rush the distance. If your dog successfully handles a trigger at 50 feet, do not jump to 10 feet the next day. Decrease the distance incrementally by 5 feet at a time over several successful sessions.
Frequently Asked Questions
What should I do if my dog goes over threshold and reacts?
Immediately create distance. Do not scold, pull hard on the leash, or try to command your dog to sit. Their brain is in a state of fight-or-flight, meaning they cannot learn. Gently but firmly guide them away from the trigger until they calm down, and resume training at a much safer distance.
Can I use a verbal marker like ‘yes’ instead of a clicker?
Yes, but a clicker is highly recommended for reactivity. The clicker provides a unique, mechanically consistent sound that does not carry human emotional undertones (such as frustration or anxiety), which dogs easily detect in human voices.
How long does it take to cure leash reactivity?
Reactivity modification is a gradual process that depends on your dog’s history, genetics, and the consistency of your training. Many owners see noticeable improvements in focus and threshold reduction within 4 to 8 weeks of daily, structured training sessions.